Used to manage and add new items for purchase.
Create Item
To create an item
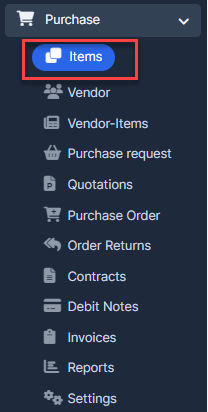
- ნაბიჯი 1. Go to the შესყიდვები module in the left sidebar and select ნივთები menu
- ნაბიჯი 2. Click დამატება button
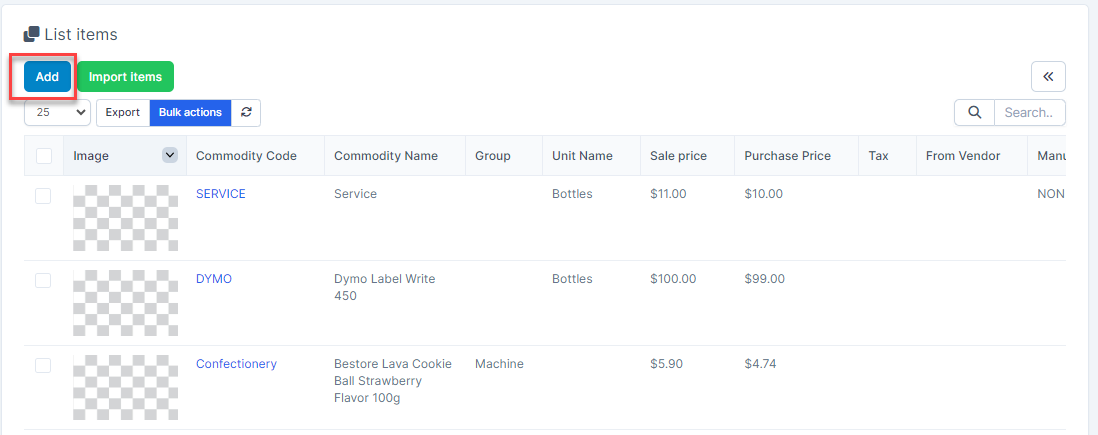
- ნაბიჯი 3. In the დამატება Item page, fill in the required field.

- Commodity Code: Enter a unique identifier for the item. This must be manually entered and cannot be duplicated.
- Commodity სახელი: Provide a descriptive name for the item
- Commodity ბარკოდი: Automatically generated. ბარკოდი must be a sequence of digits only — no letters or special characters allowed,
- SKU კოდი: Internal code used for tracking
- SKU სახელი: Descriptive label associated with the SKU
აღწერა: Provide a detailed description, including specifications, packaging, or usage notes.
- საქონლის ჯგუფი: Choose a group from the საქონლის ჯგუფი settings to classify this item under a broader category.
- Sub Groups: elect a subgroup from the Sub Groups settings. This helps in finer classification within a group.
- გასაყიდი ფასი: Final selling price of the item.
- შესყიდვები Price: The cost at which the item is procured.
- Units: Select a unit of measure (e.g., piece, box, kg) from the Units settings.
- გადასახადი 1, გადასახადი 2: Select applicable tax rates (e.g., VAT, GST). These will be applied during transactions like Sales, შესყიდვები, etc
- Attach Images: Upload item photos for easy identification in listings.
- ნაბიჯი 4. Click შენახვა
Import ნივთები
To know the format of the import, i.e. the columns and data to be included in the import file, you can download the sample import file which we’ll be looking at in the steps below.
- ნაბიჯი 1. Go to the შესყიდვები module in the left sidebar and select ნივთები menu
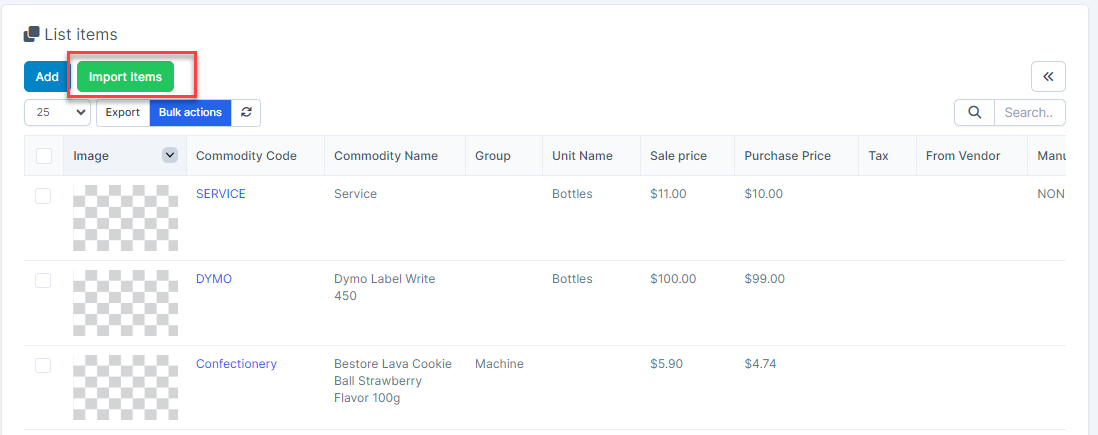
- ნაბიჯი 2. click Import items button
- ნაბიჯი 3. To ensure successful import (correct format, full columns) you should download the template file by clicking Download Sample button
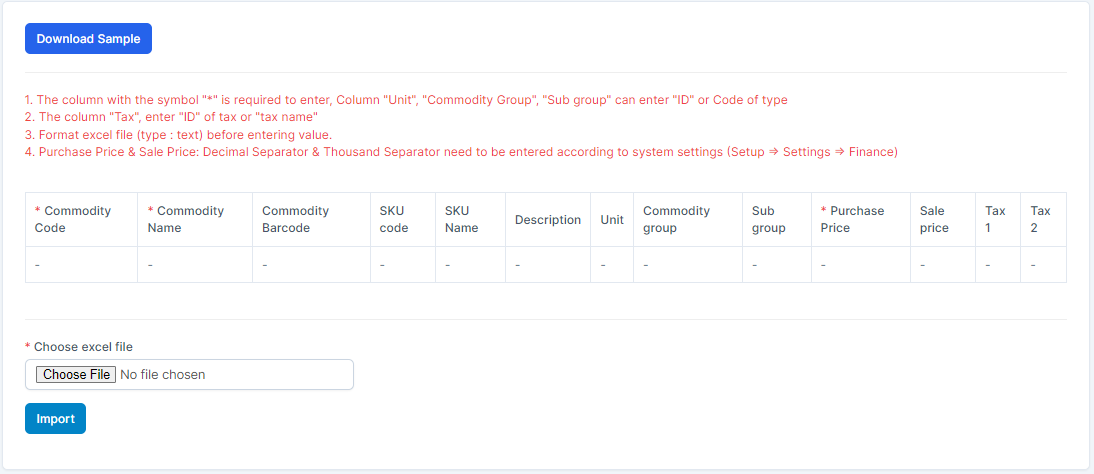
- ნაბიჯი 4. Enter the data you need to import into the downloaded file and save it.
- ნაბიჯი 5. Click the Choose File button under Choose excel file and choose a file

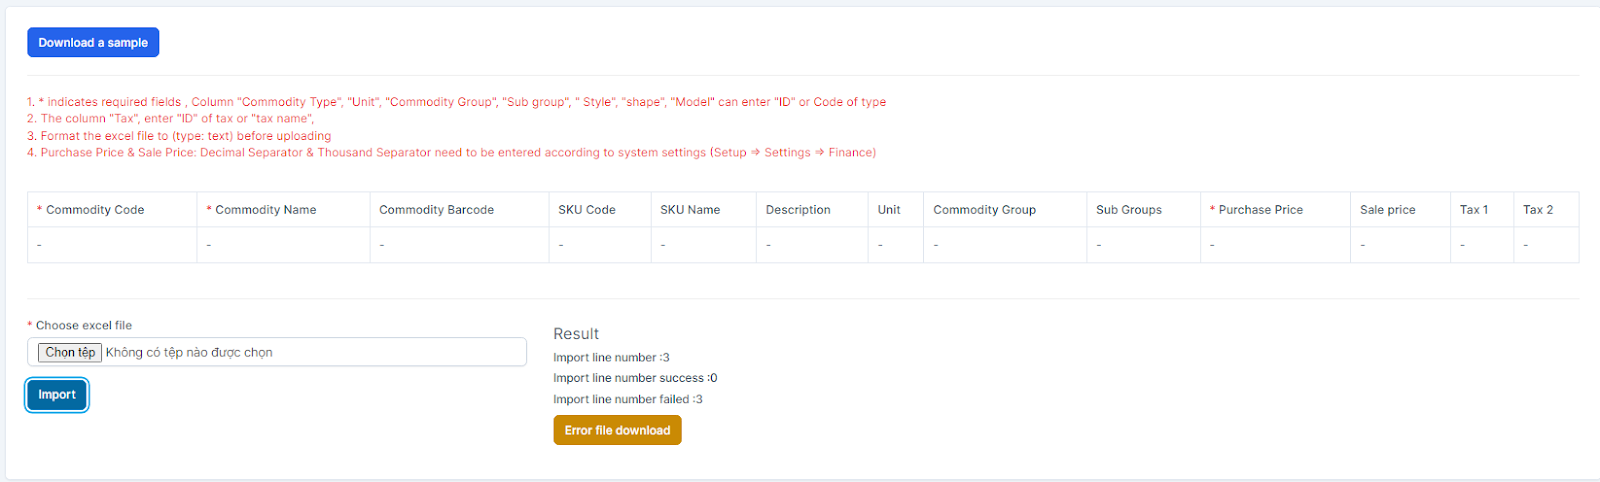
- ნაბიჯი 6. Click Import In case the import fails, the ERROR FILE DOWNLOAD button will be displayed. To see the import error, click Error file download to download the file and see the error
 -> Then go to the last column in the file (Error column) to see the exact error that caused the import of the item to fail
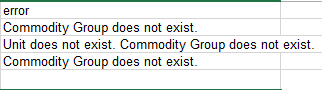
რედაქტირება ნივთები
To edit the details of an existing item:
- ნაბიჯი 1. Go to the შესყიდვები module in the left sidebar and select ნივთები menu
- ნაბიჯი 2. Hover over the item need to be edited and click რედაქტირება

- ნაბიჯი 3. Make the necessary changes and click შენახვა button
წაშლა ნივთები
You can delete single items or delete multiple items at once
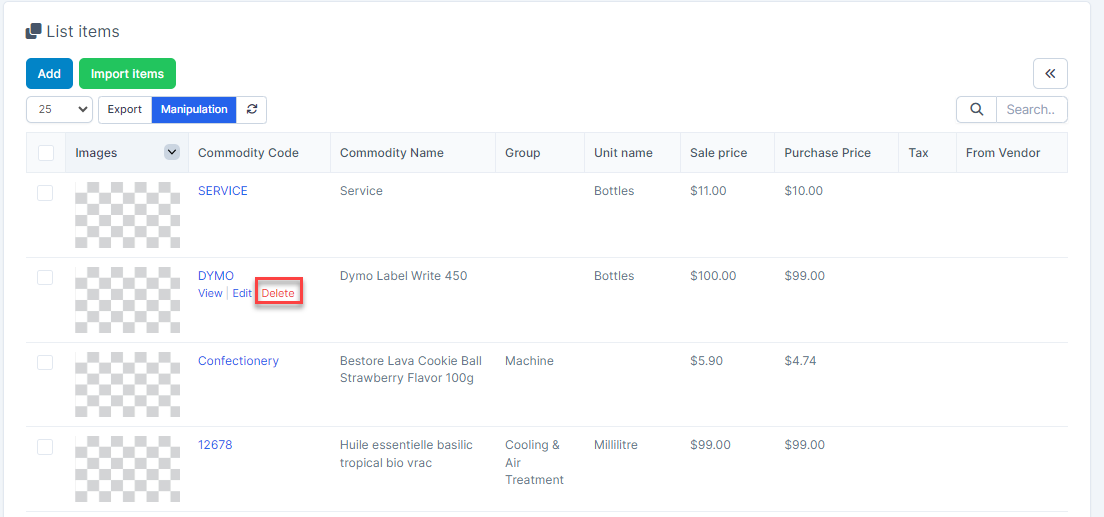
- Hover over the item you want to delete and click წაშლა
 Confirm your selection in the following pop-up. The item will be deleted.
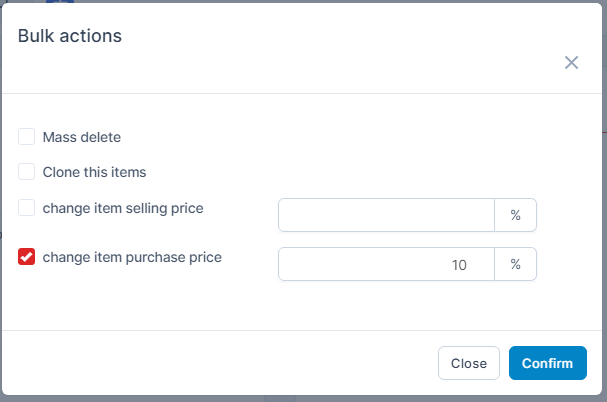
- Select the items to be deleted and press Bulk action.
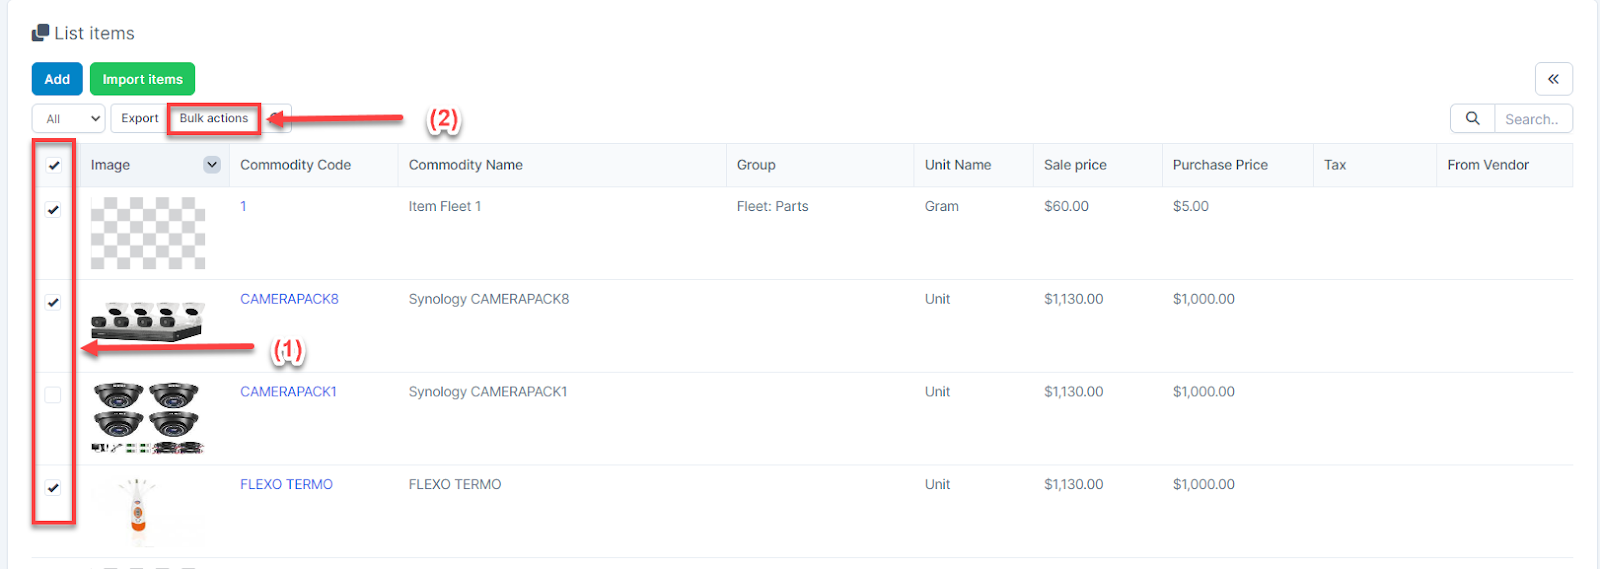 Select Mass delete -> click Confirm button.
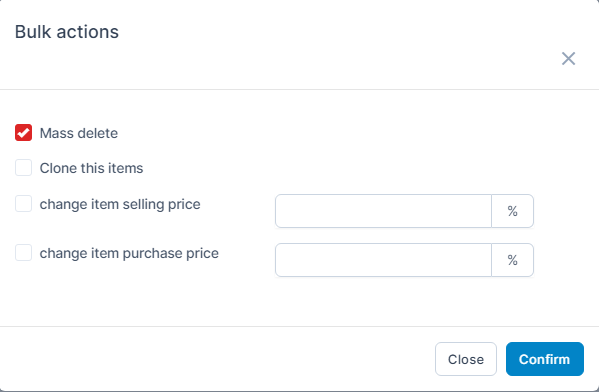
Clone ნივთები
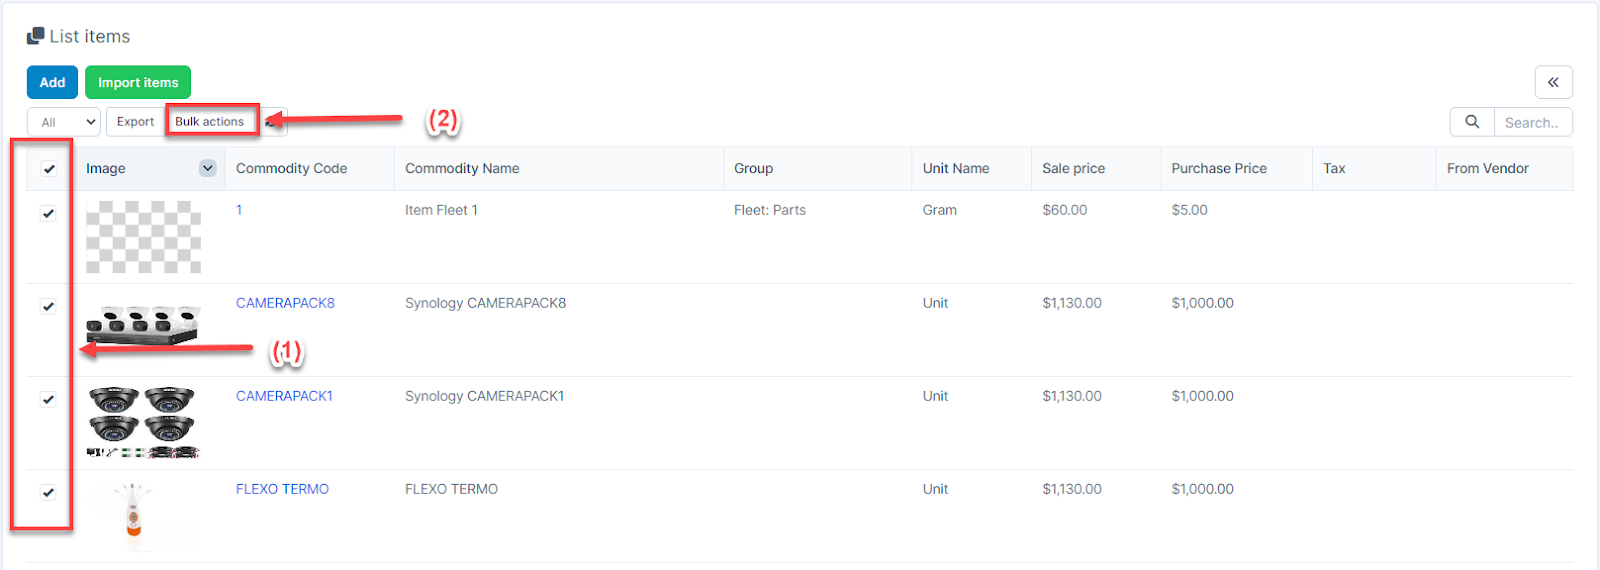
Select the items to be cloned and press Bulk action.
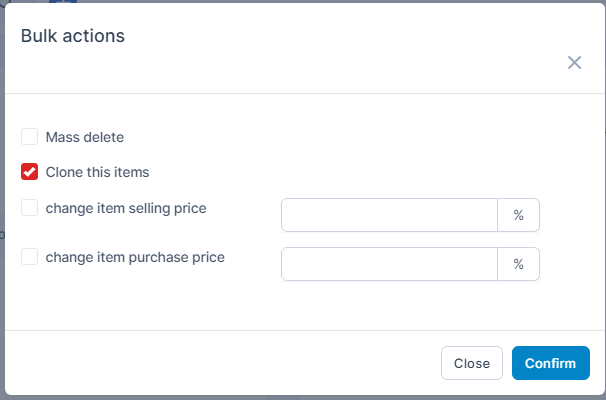
 Choose Clone this items -> click Confirm button
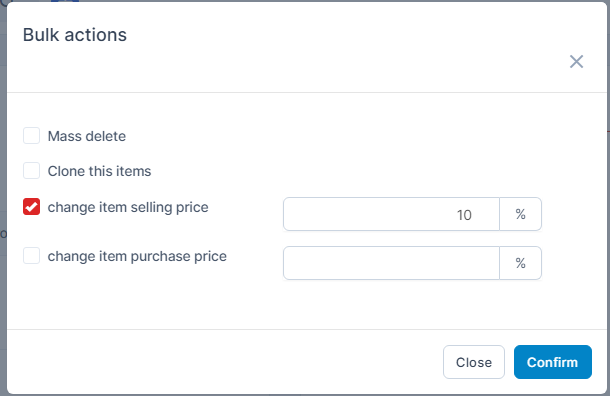
Change Item Selling Price
Select the items to be changed selling price and press Bulk action.
Choose change item selling price and click Confirm button
Change Item შესყიდვები Price
Select the items to be changed purchase price and press Bulk action.
Choose change item purchase price and click Confirm button