Used for new vendor creation page (მომწოდებელი menu).
დამატება New მომწოდებელი Category
To add a new vendor category to your organization:
- ნაბიჯი 1. Go to პარამეტრები menu under შესყიდვები module from the left sidebar.
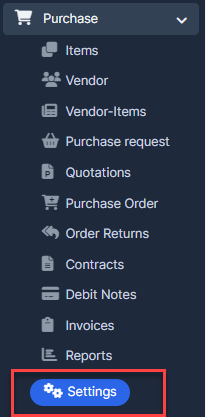
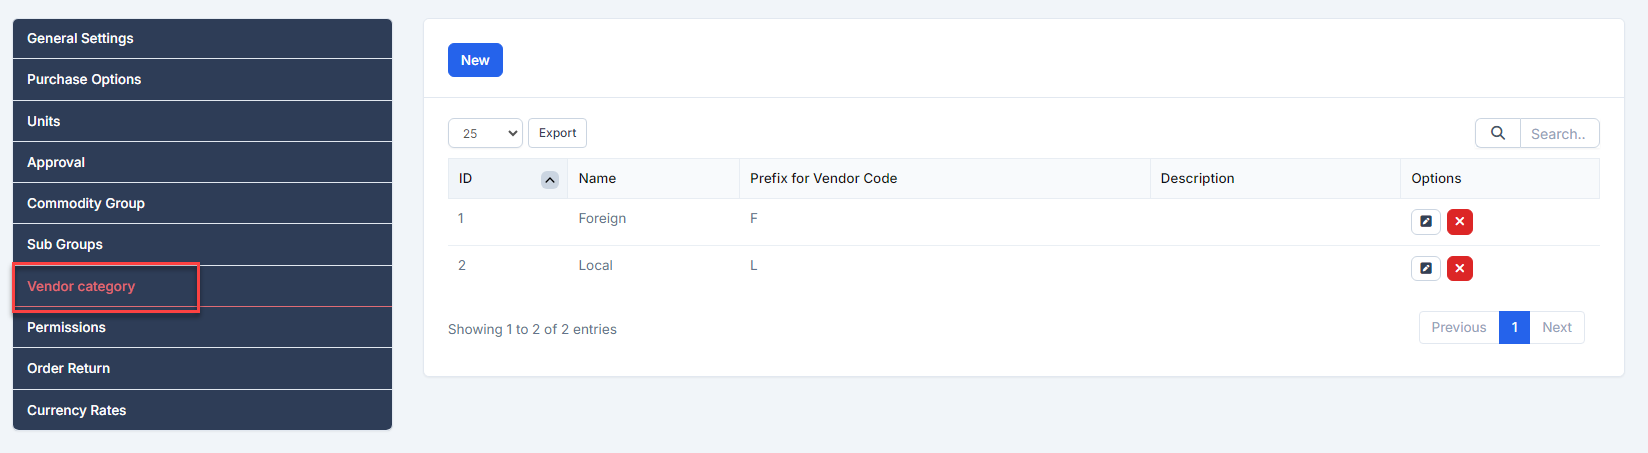
- ნაბიჯი 2. Select მომწოდებელი Category menu -> Click on the New button.
- ნაბიჯი 3. In the New vendor category page, fill the following details:
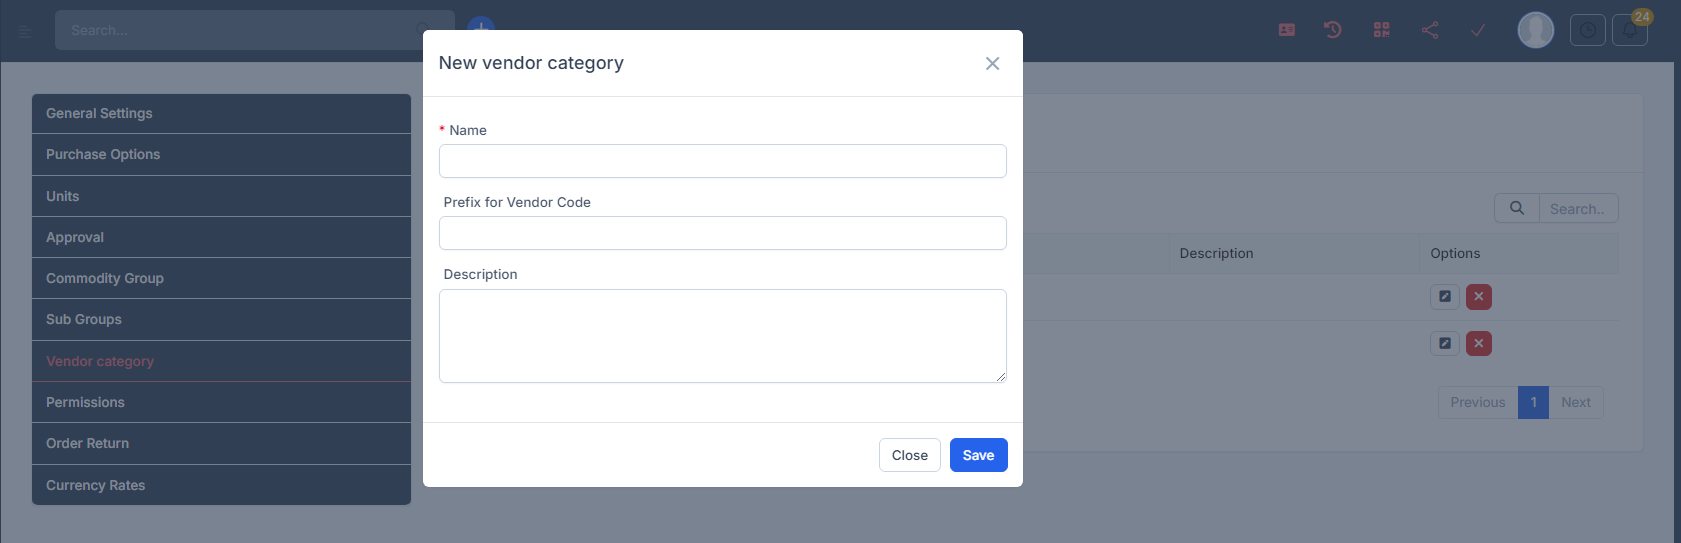
- სახელი: Enter the name of the vendor category.
- Prefix for მომწოდებელი Code: Enter the prefix for the vendor code. This prefix will be used when creating vendor codes in the დამატება მომწოდებელი and მომწოდებელი Details screens.
- აღწერა: Enter a brief description of the vendor category.
- ნაბიჯი 3. Click შენახვა
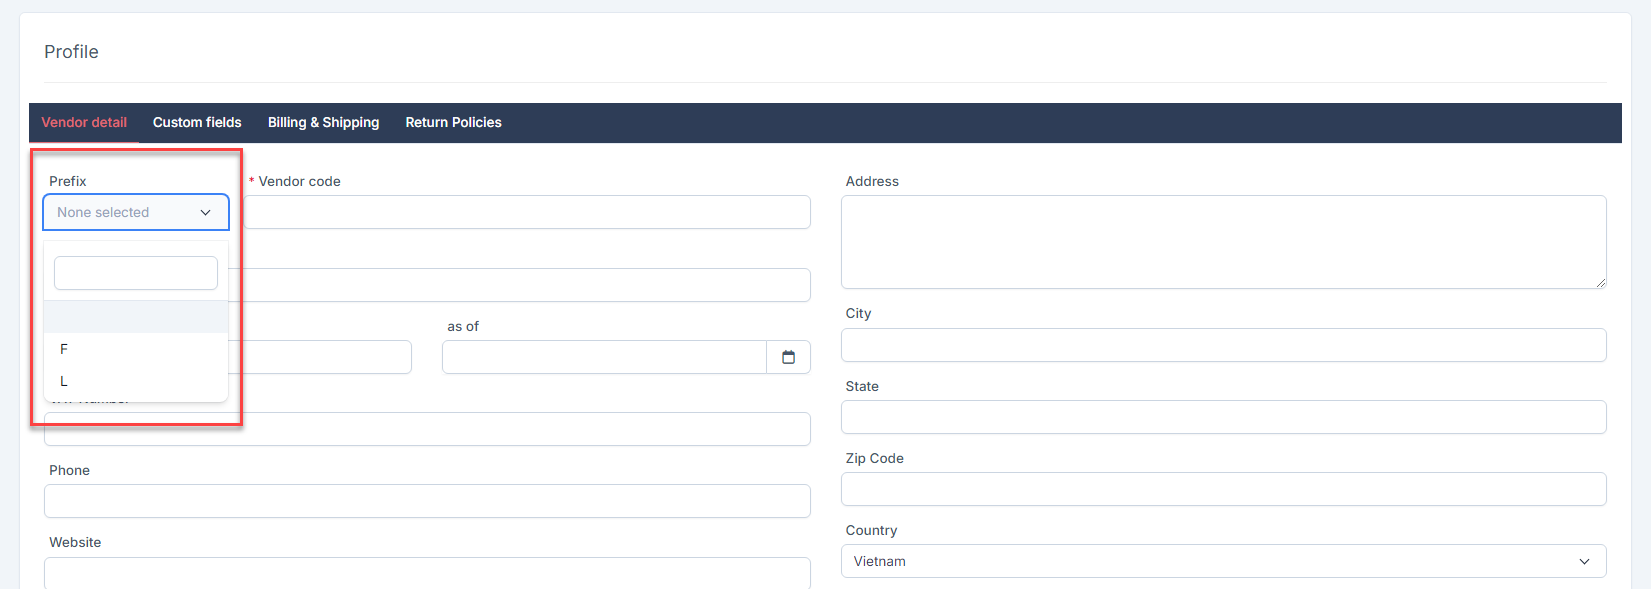
- ნაბიჯი 4. Create vendor and select prefix: Select მომწოდებელიs menu --> New მომწოდებელი --> Choose one of the available prefixes and enter the vendor code.
 Result:
  You can also change the prefix in the vendor details if needed.
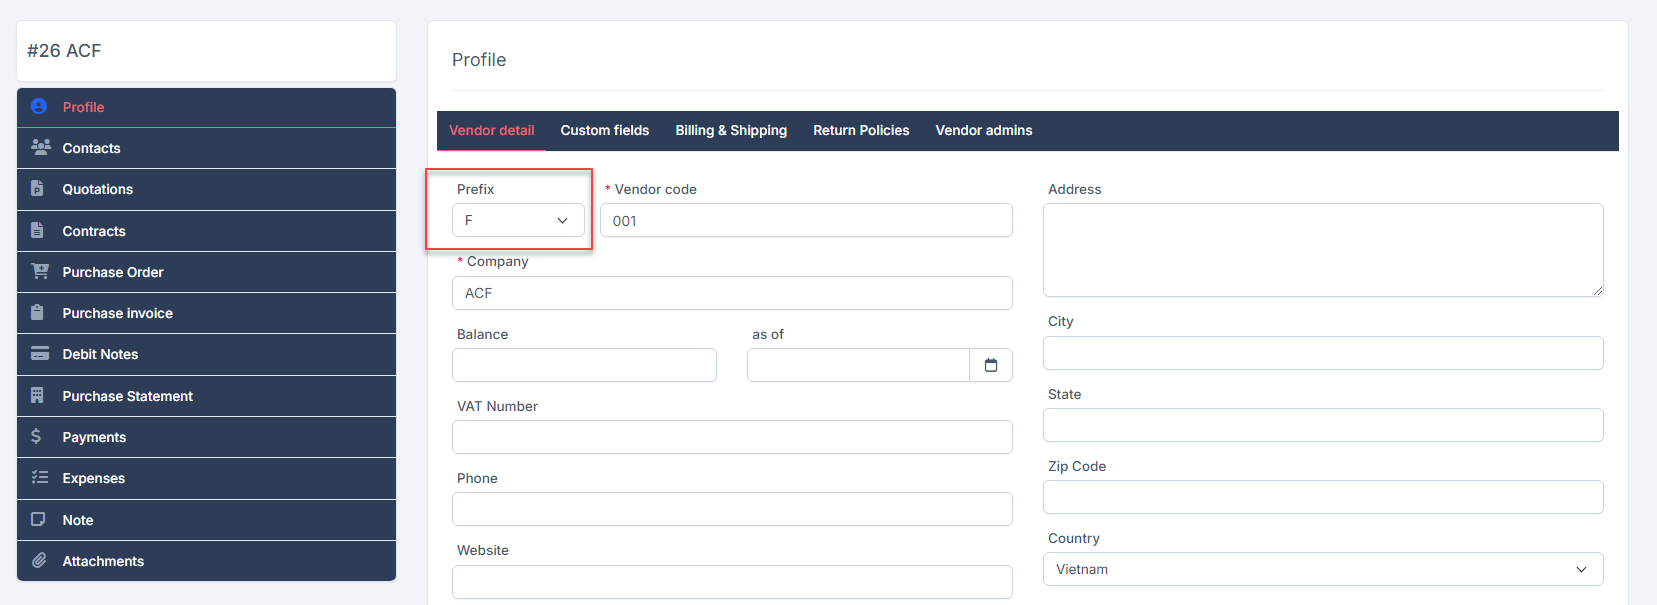
რედაქტირება მომწოდებელი Category setting
To edit the details of an existing vendor category:
- ნაბიჯი 1. Go to პარამეტრები menu under შესყიდვები module from the left sidebar
- ნაბიჯი 2. Select მომწოდებელი category menu -> Select vendor category need to be edited and click რედაქტირება

- ნაბიჯი 3. Make the necessary changes and click შენახვა button
წაშლა vendor category
- ნაბიჯი 1. Go to პარამეტრები menu under შესყიდვები module from the left sidebar
- ნაბიჯი 2. Select მომწოდებელი category menu -> Select the vendor category need to be deleted and click წაშლა
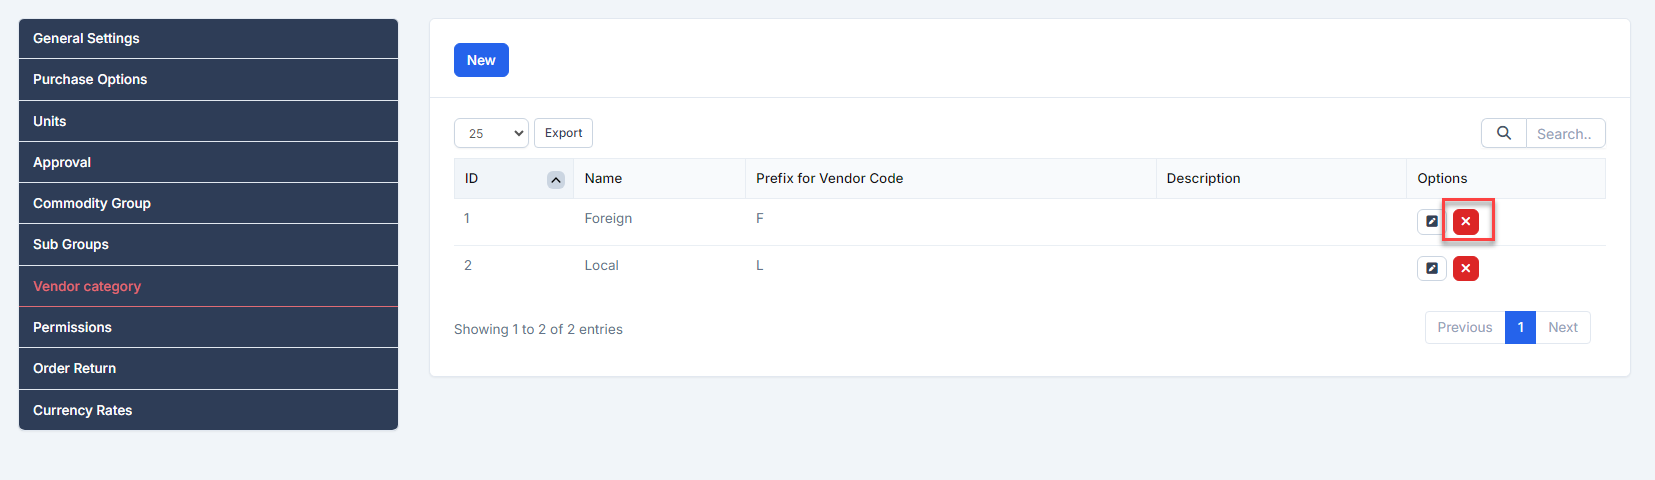
- ნაბიჯი 3. Confirm your selection in the following pop-up. The vendor category will be deleted.
