This data will be used for the Sub Group combo box in დამატება/რედაქტირება Item page.
დამატება New Sub Group
To add a new sub group to your organization:
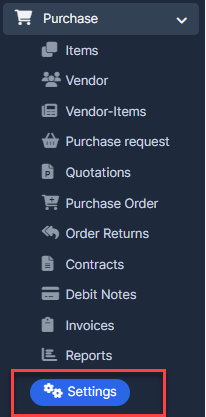
- ნაბიჯი 1. Go to პარამეტრები menu under შესყიდვები module from the left sidebar.
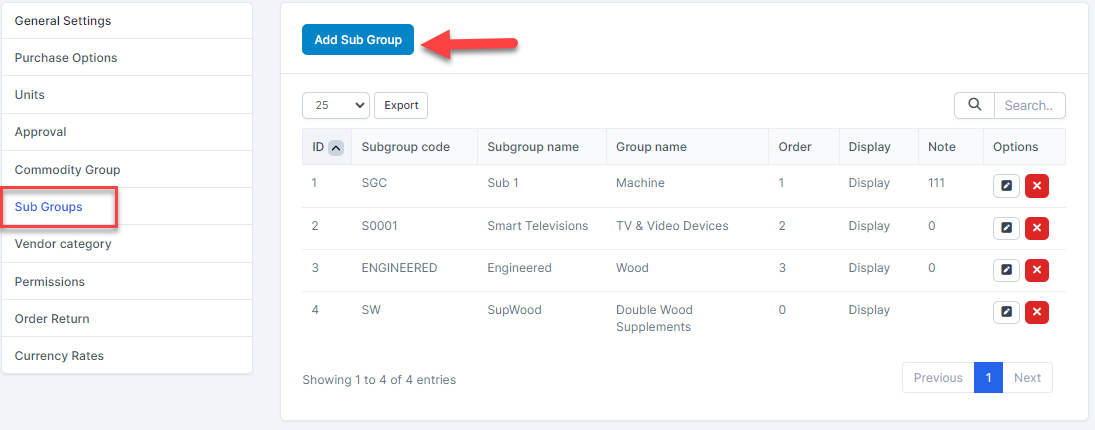
- ნაბიჯი 2. Select Sub Groups menu -> Click on the დამატება Sub Group button.
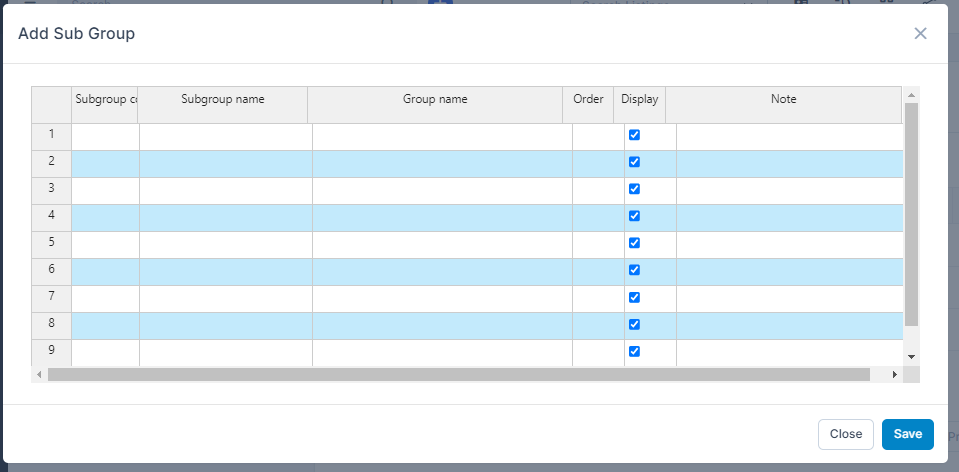
- ნაბიჯი 3. In the დამატება Sub group page, fill the following details:
- Subgroup code: Enter the code for the sub group.
- Subgroup name: Enter the name of the sub group.
- Group name: Double-click to select the Group სახელი. The group names are pulled from the საქონლის ჯგუფი setting. Only the commodity groups marked as ჩვენება will show in the Group სახელი column.
- რიგითობა: Enter the display order number. Sub groups with smaller numbers will appear at the top of the sub group dropdown list.
- ჩვენება: Check this box to make the sub group visible in the sub group dropdown list (used in the ნივთები menu → დამატება/რედაქტირება Item form). Uncheck to hide the sub group.
- შენიშვნა: Enter any additional notes if necessary.
- ნაბიჯი 4. Click შენახვა button
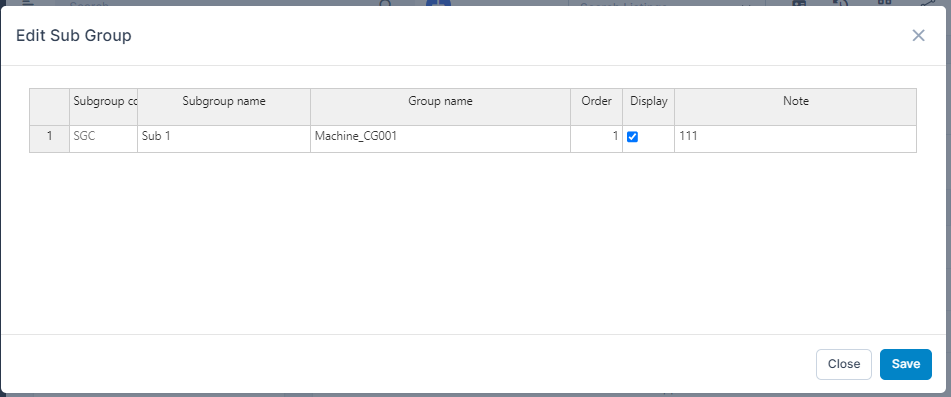
რედაქტირება Sub Group
To edit the details of an existing sub group :
- ნაბიჯი 1. Go to პარამეტრები menu under შესყიდვები module from the left sidebar
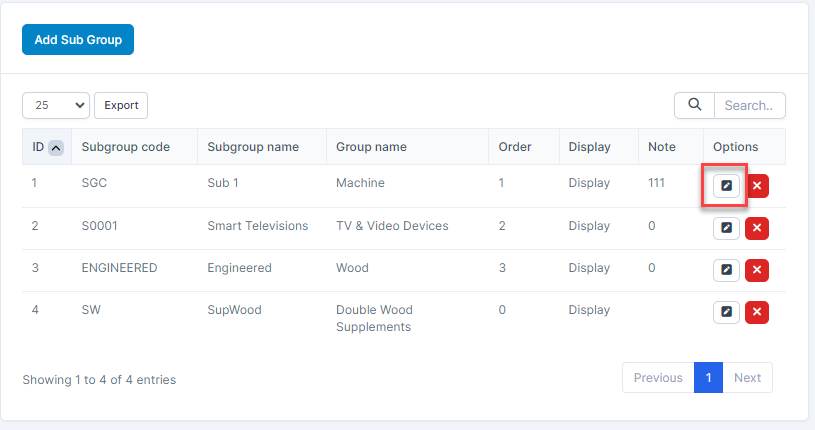
- ნაბიჯი 2. Select Sub Groups menu -> Hover over the sub group to be edited and click რედაქტირება
- ნაბიჯი 3. Make the necessary changes and click შენახვა button
წაშლა sub group
If a sub group is no longer operational, you can delete it. To delete a sub group:
- ნაბიჯი 1. Go to პარამეტრები menu under შესყიდვები module from the left sidebar
- ნაბიჯი 2. Select Sub Groups menu -> Hover over the sub group to be deleted and click წაშლა
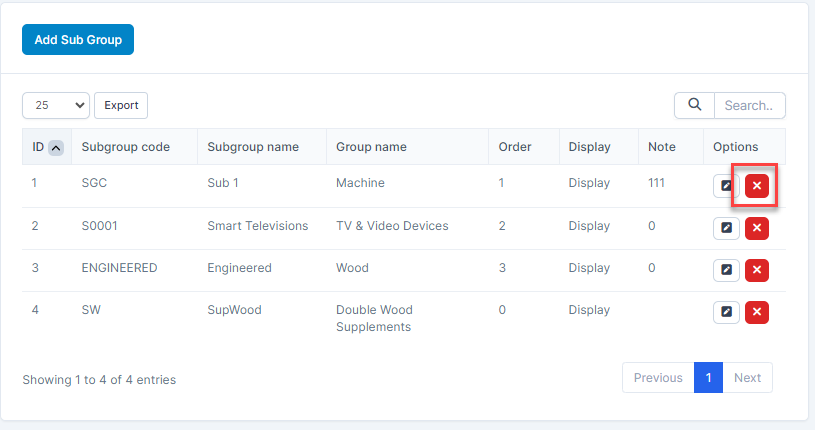
- ნაბიჯი 3. Confirm your selection in the following pop-up. The sub group will be deleted.
