For creating purchase transactions like purchase order, quotations, purchase invoice and debit note, you'll have to add vendors
Create მომწოდებელი
To create a new vendor:
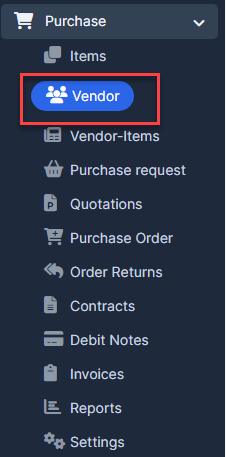
- ნაბიჯი 1. Go to the შესყიდვები module in the left sidebar and select მომწოდებელი menu
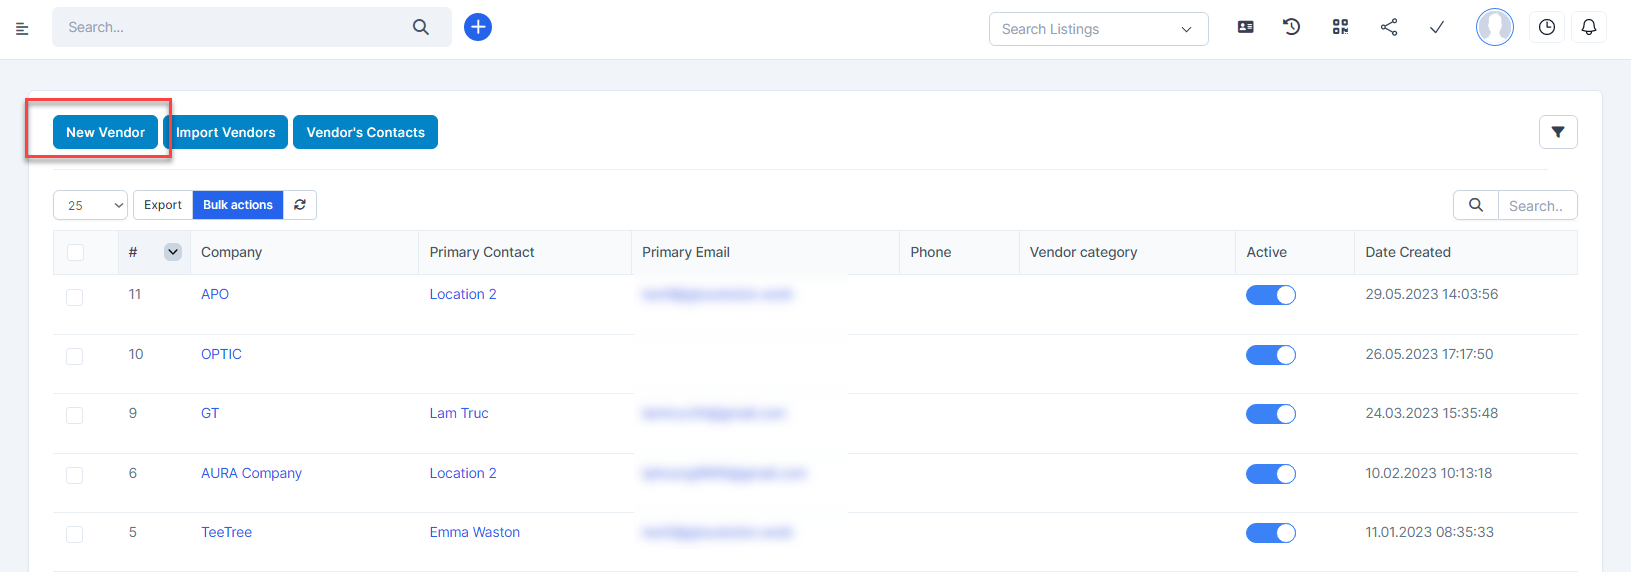
- ნაბიჯი 2. Click the New მომწოდებელი button
- ნაბიჯი 3. Enter მომწოდებელი code and Company Select მომწოდებელი category and Currency
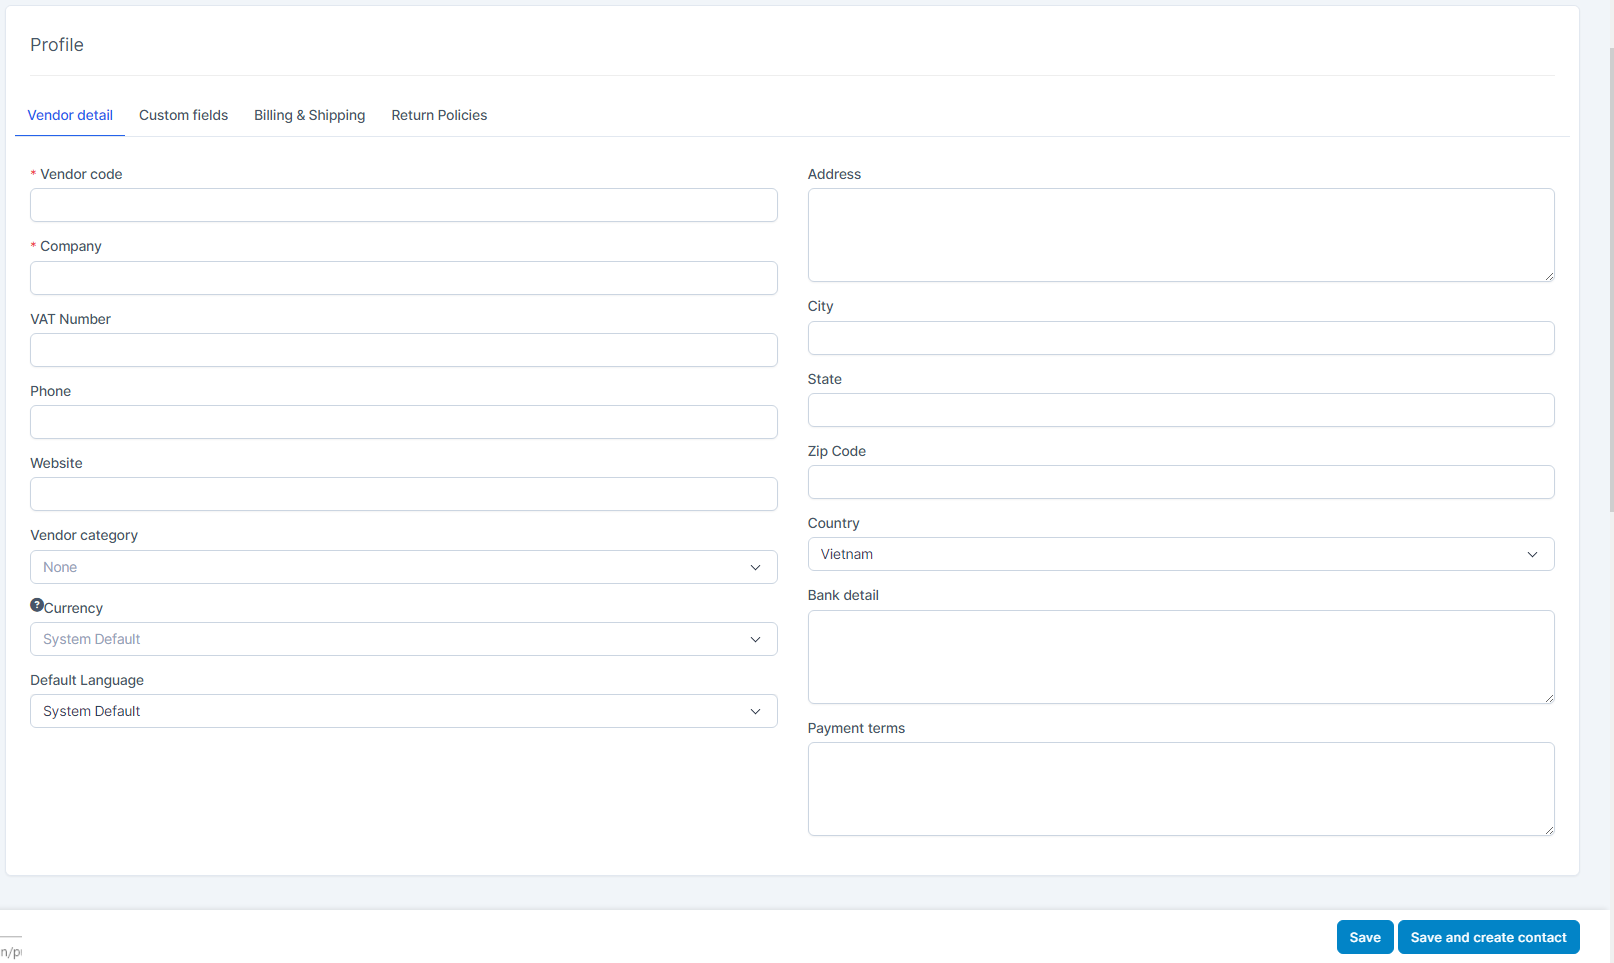
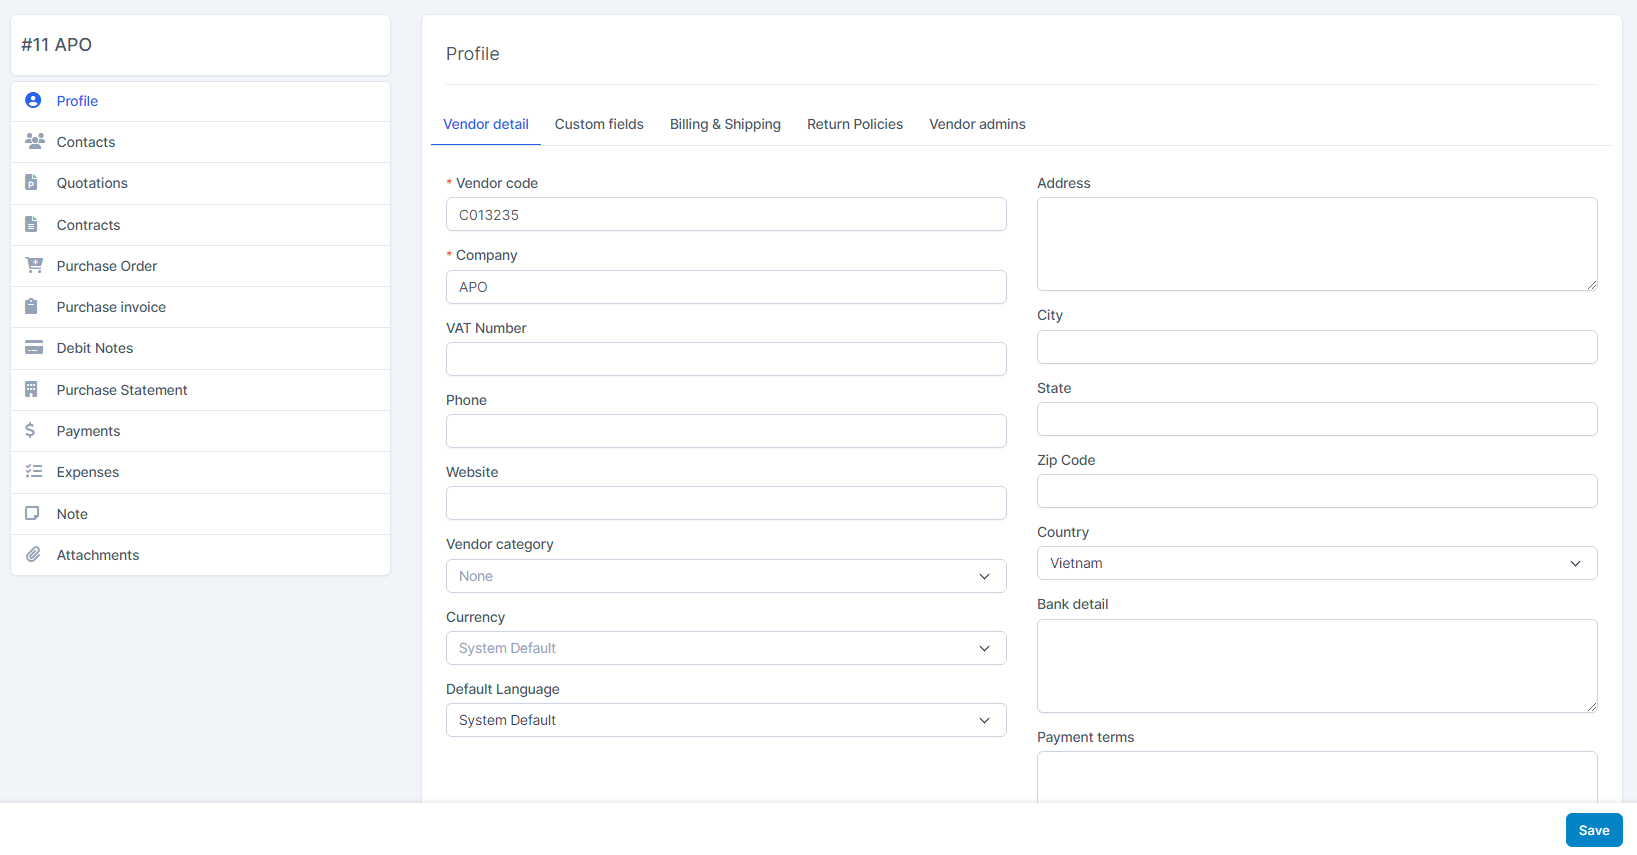
Tab 1: მომწოდებელი Detail
- მომწოდებელი Code: A unique identifier for the vendor (required).
- Company: სახელი of the vendor's company (required).
- Balance: Current outstanding balance for the vendor.
- As of: The date on which the balance is applicable.
When you enter balance and as of, the system will automatically create a bill in the Accounting module / Bills menu and this bill will be automatically approved and mapped to the account pair Other selling expenses and Accounts Payable (A/P).
- VAT Number: მომწოდებელი’s tax identification number (if applicable).
- Phone: Contact phone number of the vendor.
- Website: Official website URL of the vendor.
- დამატებაress: Main address of the vendor.
- City: City of the vendor’s address.
- State: State or province of the vendor’s address.
- Zip Code: Postal or ZIP code.
- Country: Country of the vendor.
- Currency: Preferred currency for transactions (if not selected, system default is used).
- Default Language: Preferred language for communication with this vendor.
Tab 2: Billing & Shipping
Billing დამატებაres:
- Street: Street name and number for the billing address.
- City: City where the invoice should be sent.
- State: State or province of the billing address.
- Zip Code: ZIP or postal code of the billing location.
- Country: Country where the vendor is billed.
- Same as მომწოდებელი Info: Click "Same as მომწოდებელი Info" if you want to copy the content of Street, City, State, Zip Code, Country from მომწოდებელი detail tab to Billing დამატებაress.
Shipping დამატებაress:
- Street: Street name and number for the delivery address.
- City: City where goods will be delivered.
- State: State or province of the delivery location.
- Zip Code: ZIP or postal code for the delivery address.
- Country: Country for the shipping destination.
- Copy Billing დამატებაress: click "Copy Billing დამატებაress" if you want to copy the content of Street, City, State, Zip Code, Country from Billing დამატებაress to Shipping დამატებაress.
Tab 3: Return Policies - The return request must be placed within X days after the delivery date: Enter the maximum number of days allowed for returning items, calculated from the delivery date.- Fee for Return რიგითობა: Enter the return order fee, if applicable.- Return policies information: Enter the detailed return policies content about the conditions and process for returning goods.
- ნაბიჯი 4. You can add other details such as their Custom fields, Billing & Shipping and Return Policies by navigating through the different tabs at the top of the page.
- ნაბიჯი 5. Click შენახვა or შენახვა and create contact
Import მომწოდებელი
To import vendor from other systems:
- ნაბიჯი 1. Go to the შესყიდვები module in the left sidebar and select მომწოდებელი menu
- ნაბიჯი 2. Click Import items button

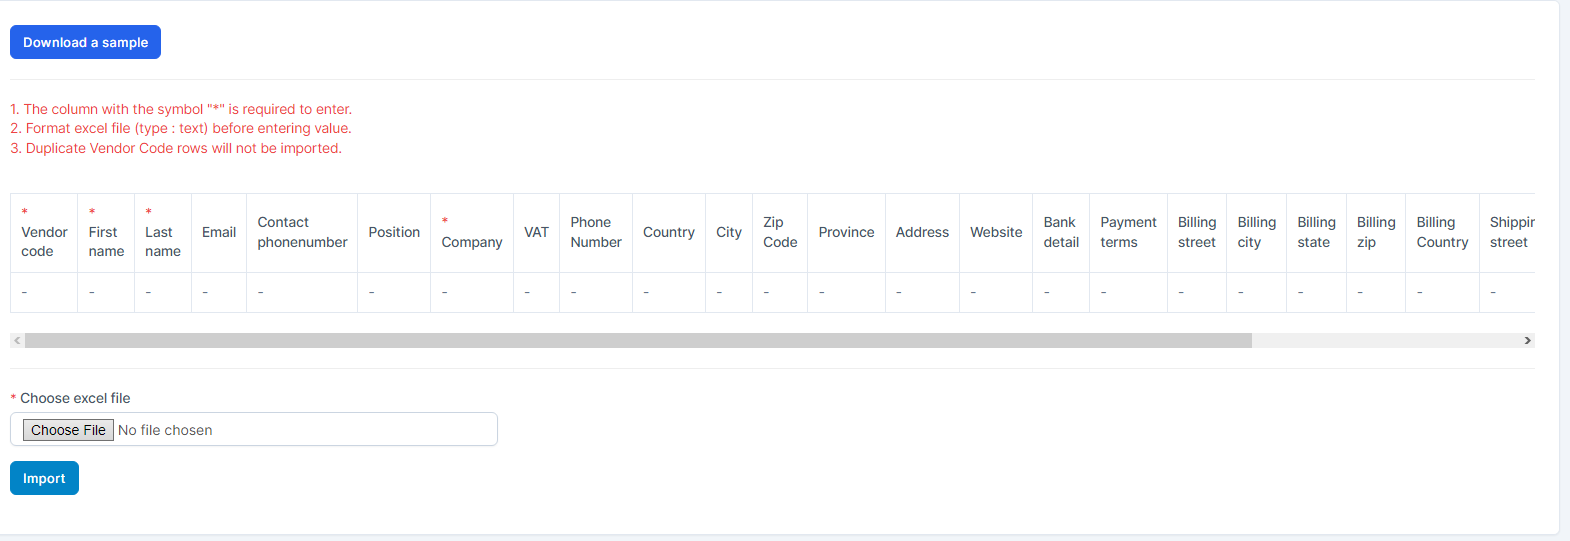
- ნაბიჯი 3. To ensure successful import (correct format, full columns) you should download the template file by clicking Download a Sample button.
- ნაბიჯი 4. Enter the data you need to import into the downloaded file and save it.
- ნაბიჯი 5. Click the Choose File button under Choose excel file and choose a file
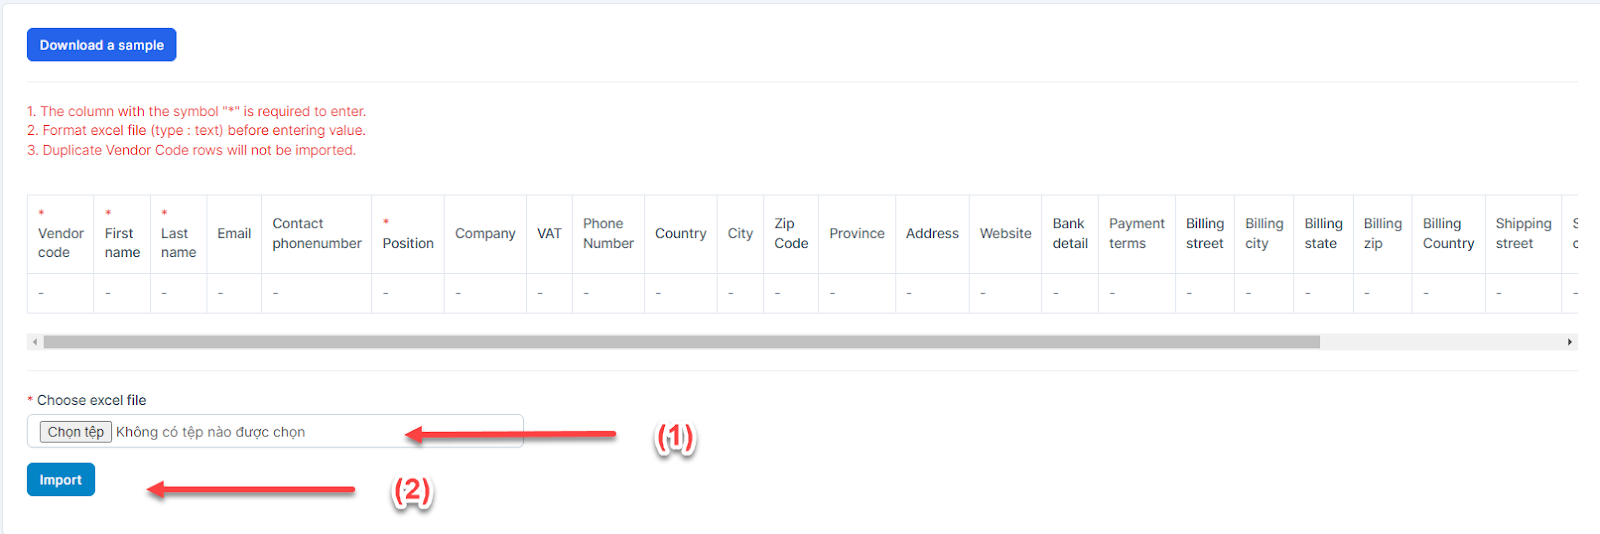
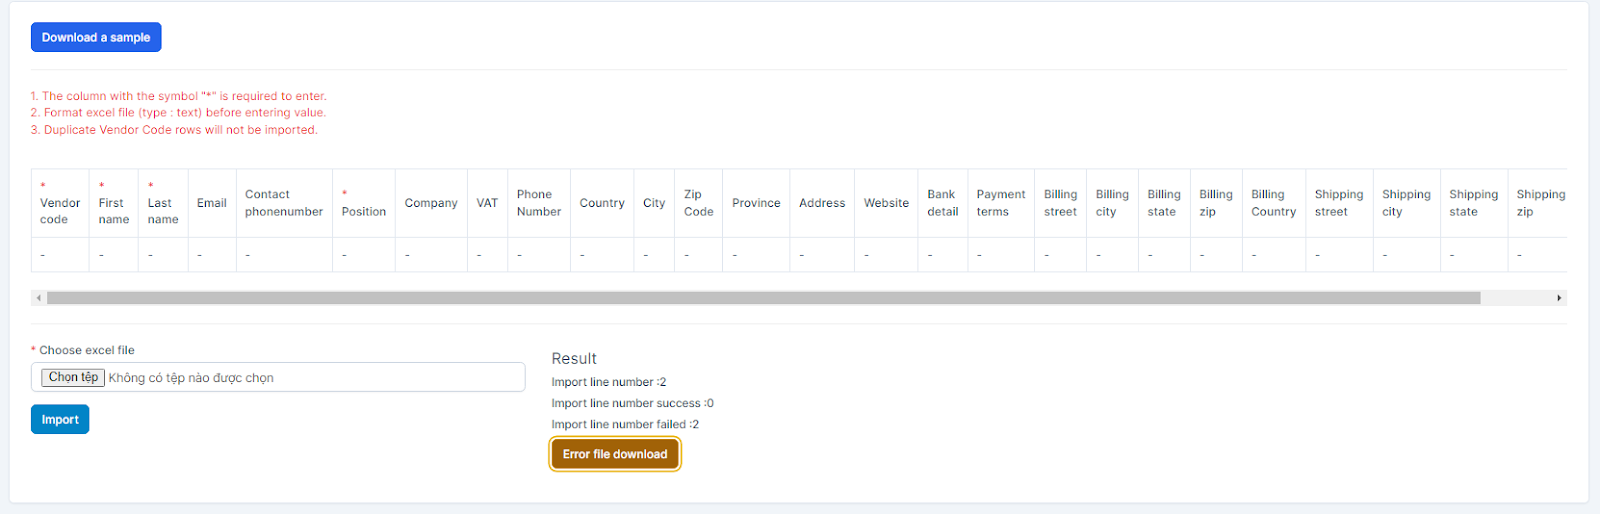
- ნაბიჯი 6. Click Import In case the import fails, the ERROR FILE DOWNLOAD button will be displayed. To see the import error, click Error file download to download the file and see the error
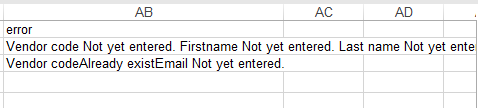
 ==> Then go to the last column in the file (Error column) to see the exact error that caused the import of the item to fail
მომწოდებელი Detail
- ნაბიჯი 1. Go to the შესყიდვები module in the left sidebar and select მომწოდებელი menu
- ნაბიჯი 2. Select a vendor and click View
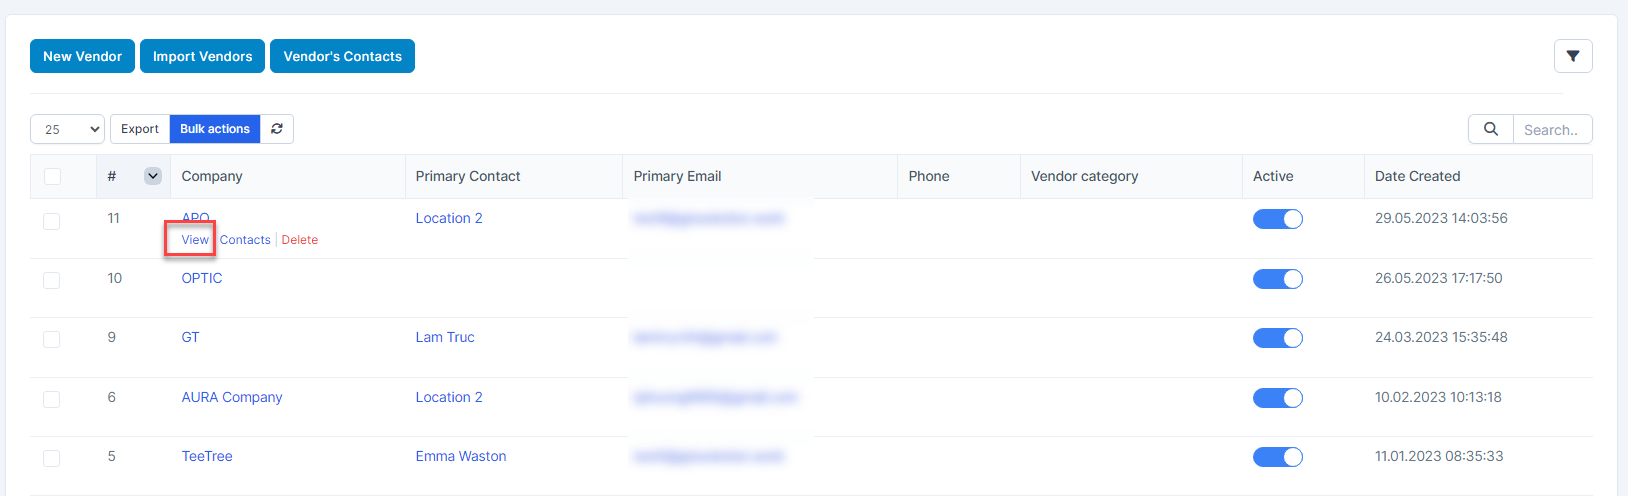
Manage general information and transactions of a vendor.
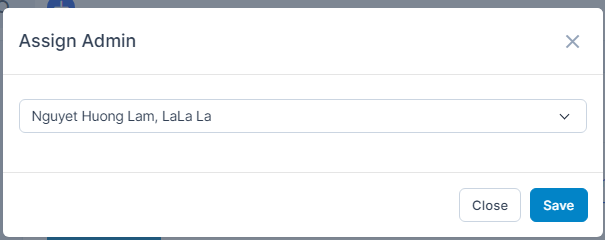
Assign Admin
Used to assign staff to be in charge of vendorThese employees will receive notifications for all vendor-related transactions: quotation sent from the vendor.
ნაბიჯი 1. Go to vendor detail -> მომწოდებელი admins tab -> click Assign Admin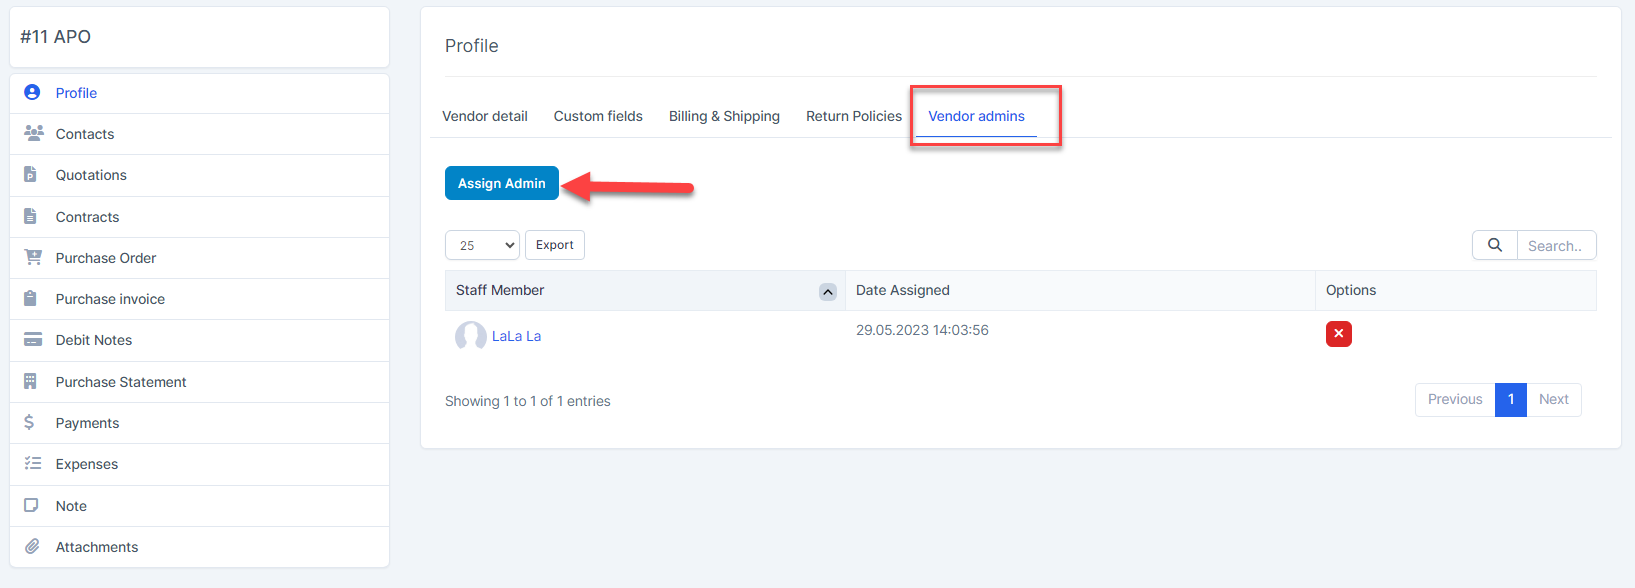
ნაბიჯი 2. Select a or more staffs and click შენახვა